Gibson Les Paul Studio Refinish
Here’s my latest project, which I’ve FINALLY finished. I bought a trashed, beat up Gibson Les Paul, and did a complete refinish in it and the hard shell case it came in. It was pretty dinged up and dented when I got it.
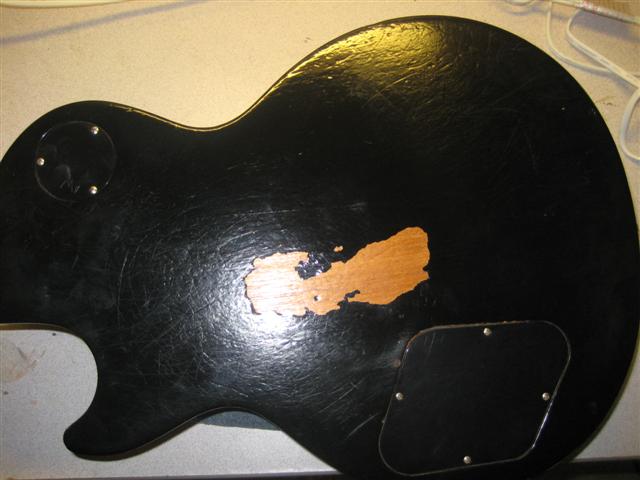
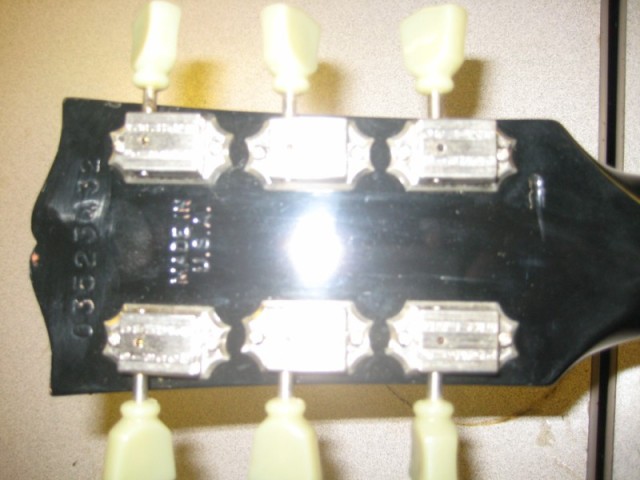
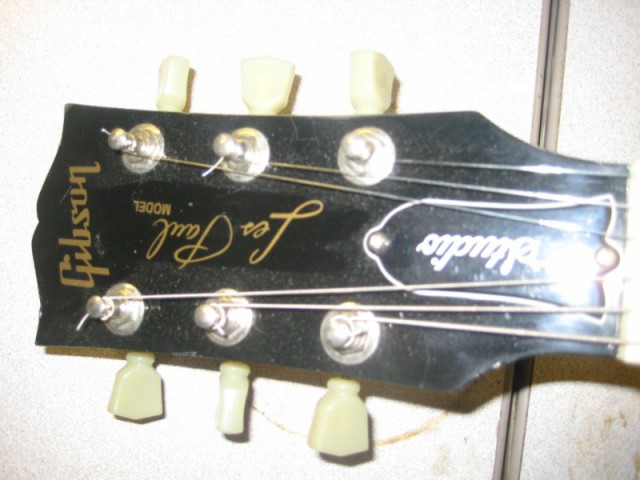
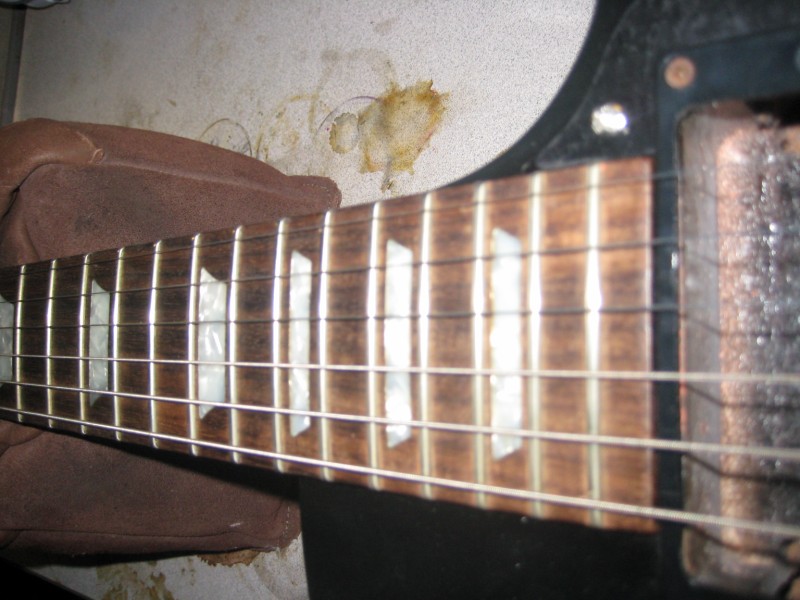
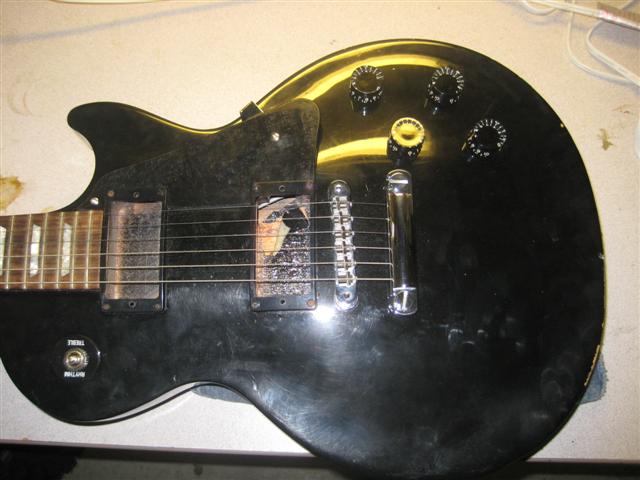
This is when I got it. It was filthy, dented, fretboard was dry as a bone, electrics in cavity did not work. Hard case was included but was broken and looked like it had been kept in the back of a pickup truck driven on dirt roads for a year or so.


Stripping the paint off front and back…
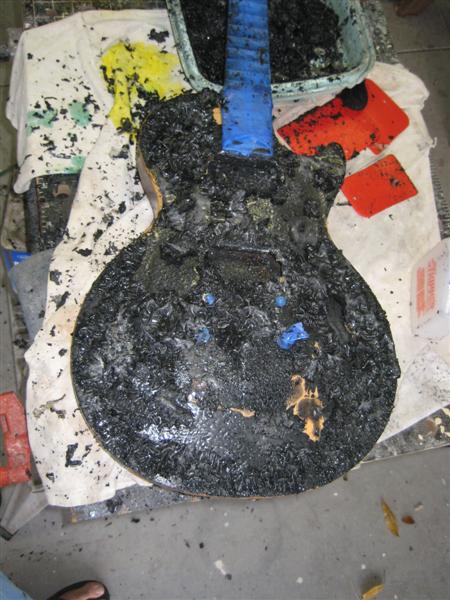
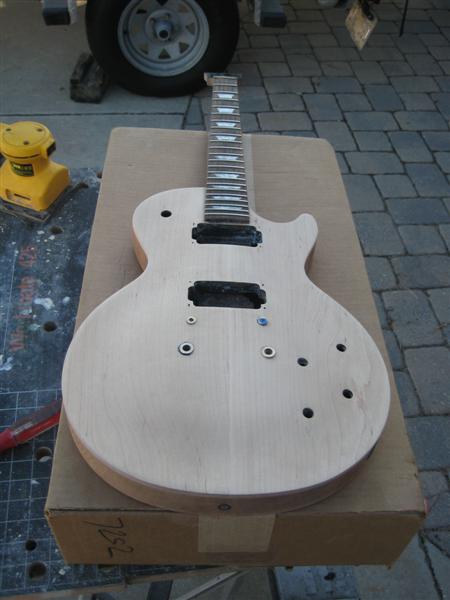
Stripped and sanded down to bare wood.

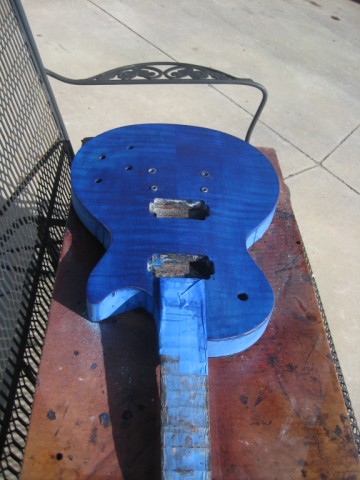
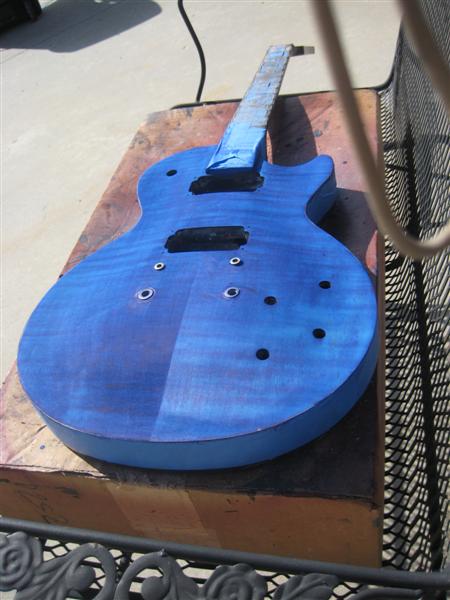
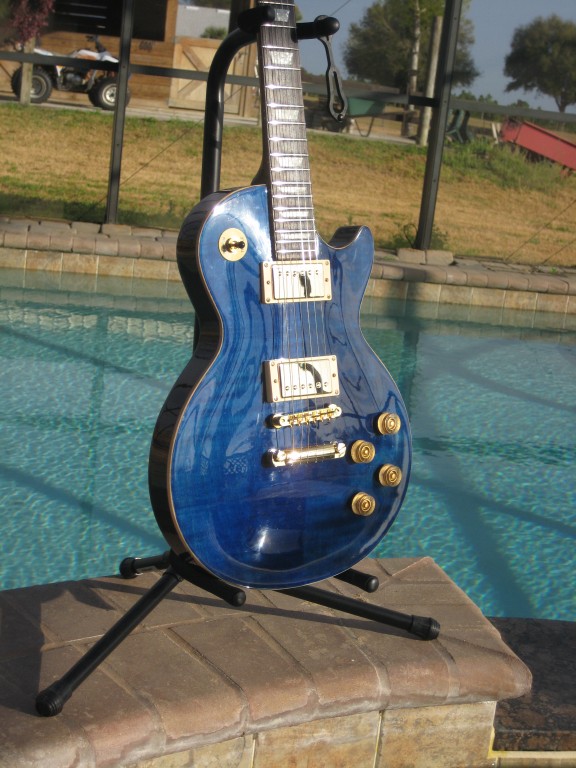
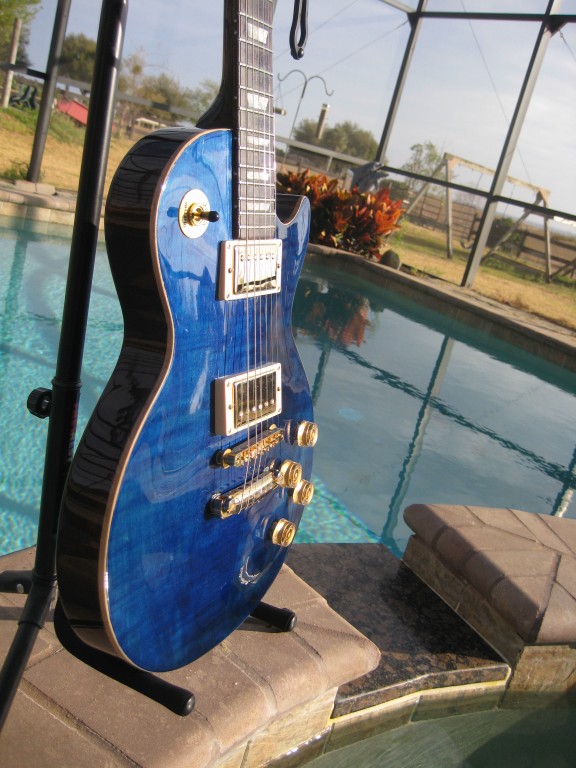
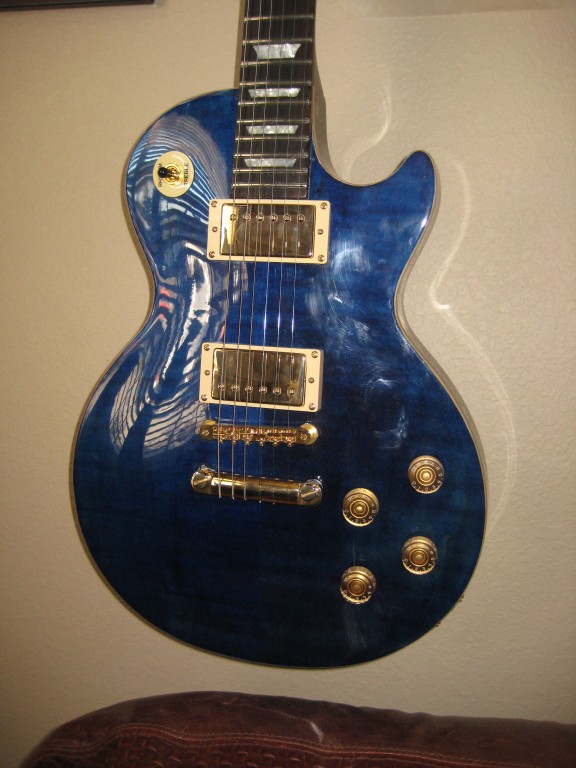
Blue Aniline Dye applied to top
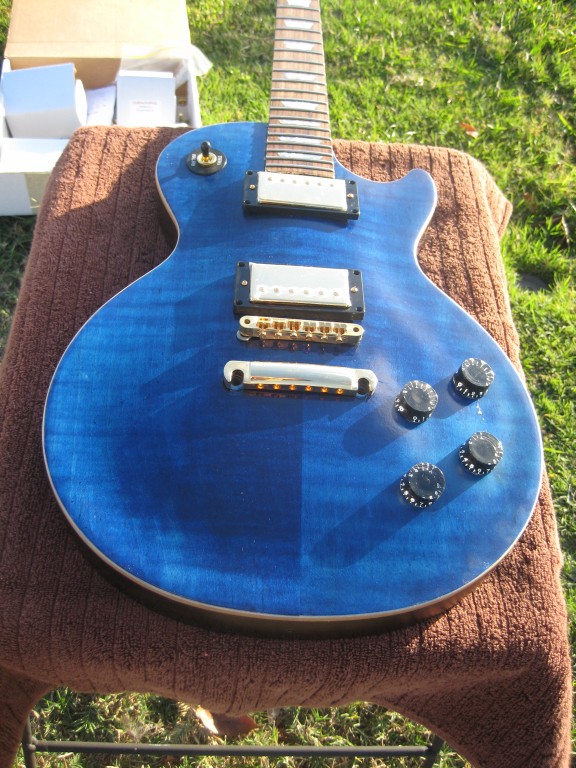
Mockup to get an idea of what it will look like… Some clear laquer has been sprayed, but not all of it, and no polishing yet…
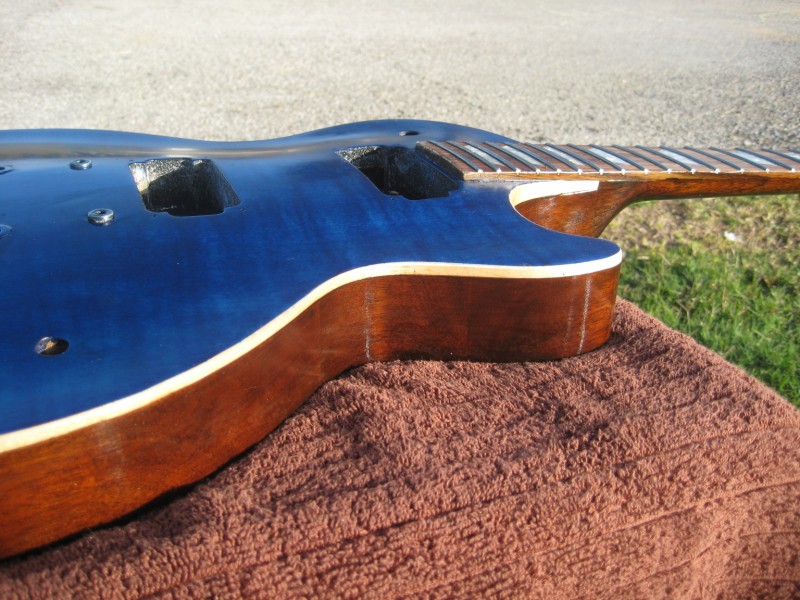
Les Pauls are made with a mahogany body, with a maple cap on top. that is the top 3/8 inch or so that is carved. What you see here, is the stained mahogany, the natural color of the edge of the maple top, and then the blue dyed top.
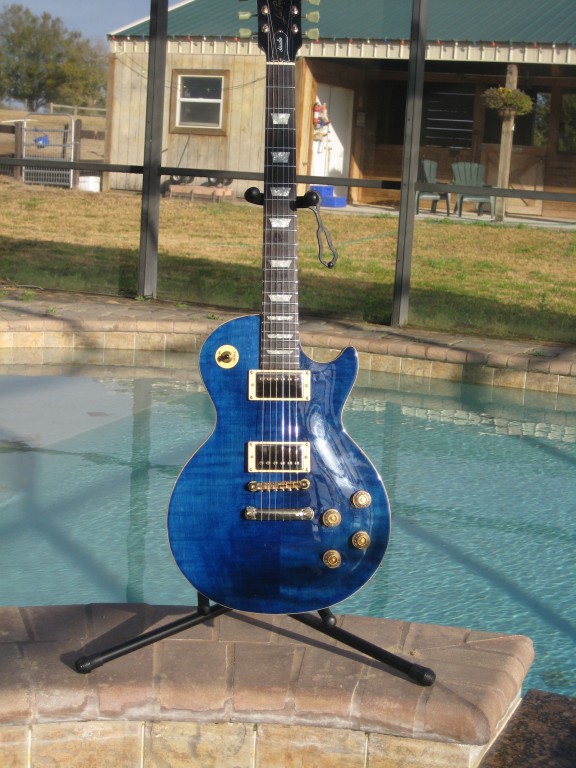
After assembly and final polish…
January 31st, 2009 at 8:27 pm
VERY nice work!
February 26th, 2010 at 2:00 pm
How did you get the dye to stripe opposite of the grain. I am working on one too and trying to figure it out.
February 26th, 2010 at 2:24 pm
You go through a process of dying, then sanding back, usually a couple 3 times until you get the color you want. When you sand back, you’ll sand back until the denser wood is pretty much white again, but the color has gone deeper in the ‘striped’ areas. Color it again, sand back some. Each time you do that you’ll be darkening the dark areas, but then sanding to lighten the light areas and increase the contrast. Hope that helps.
February 26th, 2010 at 2:25 pm
Keep in mind, you’ll only be accenting the pattern that is already there, if your wood is not ‘flamed’ or tiger striped or whatever, it’s not going to take on these characteristics.